Inspection Modelling

Ultrasonic inspection is widely used in the oil and gas, nuclear and energy sectors to determine the condition of equipment.

In general, the objective is to identify and, if possible, quantify any degradation or defects that have the potential to threaten the integrity of any equipment.

There is also an increasing emphasis on determining the performance of an inspection campaign.

In the past, this has typically been addressed by validation trials on test pieces with built-in defects. However, the costs of such an approach are normally high and lengthy timescales can be involved.

Ultrasonic modelling is an attractive alternative to validation trails that allows rapid and accurate assessment of the performance of an inspection. It also facilitates optimisation of the approach to inspection through the evaluation of different parameters.

CIVA NDE Software

Sonomatic use CIVA NDE ultrasonic modelling software, originally developed in the French nuclear industry and is now used extensively in a range of major industries including power generation, aerospace, and oil and gas.

CIVA is widely viewed as setting the standard for ultrasonic modelling and has been extensively validated.

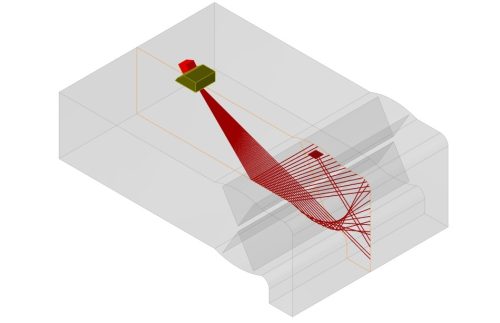
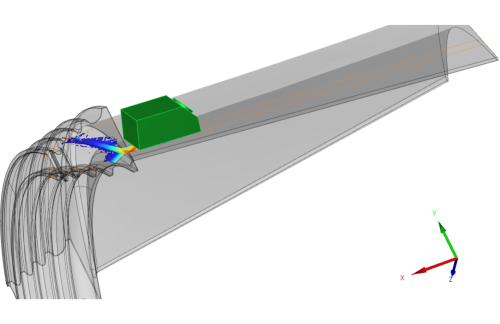
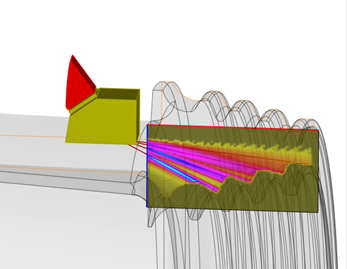
The software allows the evaluation of ultrasonic beam properties and interactions with a range of defects.

The output from CIVA is available in a variety of forms including the typical a, b, c and d scans that would be obtained from an ultrasonic inspection.

Parameters can be varied to optimise the inspection:
  • Component’s Geometry and Material Properties
  • Probe Characteristics
  • Inspection Approach
  • Defect Type & Location

Application

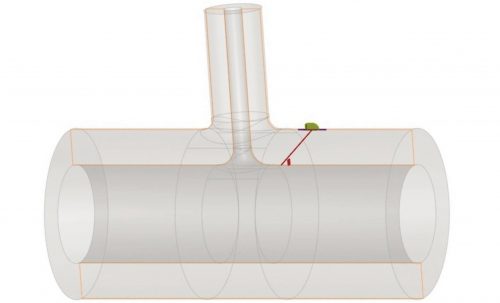
Inspection modelling nozzel application.
Sonomatic's application of the CIVA NDE software covers the following areas:
  • Development and evaluation of inspection approaches for specific applications.
  • Demonstration of the capability of an inspection with respect to detection of specified defect sizes and locations.
  • Assessment of the sensitivity of inspection performance to system variables.
  • Assessment of areas covered by the inspection.
  • Development of delay laws for phased array inspection.
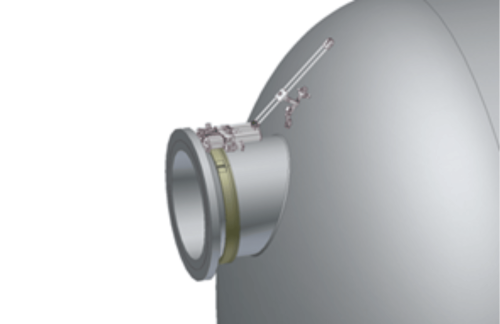
  • Analysis can be carried out on a wide range of geometries, from simple parametrically defined plate and pipe models, through to complex nozzles and 3D CAD defined components.
  • The software caters for a range of defect types.
  • A range of inspection approaches can be modelled.

Frequently Asked Questions

Inspection modelling is used to digitally simulate the results that would be obtained from an inspection.

To demonstrate that an inspection strategy is suitable, validations need to be completed. In the past, validations would be completed by creating samples with areas of representative degradation, which would allow verification of inspection results. Suitable validation samples with representative degradation, can be difficult and expensive to manufacture.

Inspection modelling allows complex geometries and areas of degradation to be simulated quickly. The simulated results from different inspection strategies can then be generated and evaluated. The results can be used to optimise the inspection strategies to ensure that the most suitable techniques are selected for an inspection campaign.

No. The inspection modelling software allows complex parametric models to be created, alternatively CAD models of specimens can be imported to allow inspection simulation of complicated geometries.

Get in touch with us today