Sonomatic was asked to perform an independent review of inspection data, as well as a fitness-for-service (FFS) assessment following significant reductions in wall thickness over a period of 6 months reported by the client’s incumbent inspection team.

Wall Thickness Reduction Review & FFS Assessment
Process
Direct comparison between inspection results can be difficult as small changes in setup or location can have a substantial effect on any perceived differences.
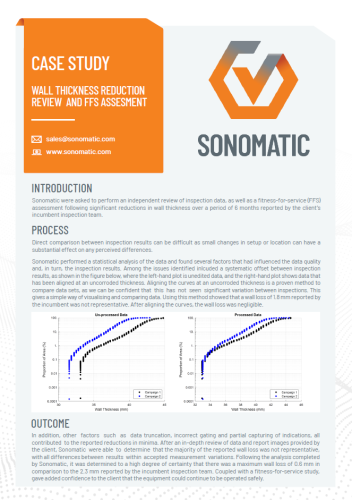
Sonomatic performed a statistical analysis of the data and found several factors that had influenced the data quality and, in turn, the inspection results. Among the issues identified included a systematic offset between inspection results, where the left-hand plot is unedited data, and the right-hand plot shows data that has been aligned at an uncorroded thickness. Aligning the curves at an uncorroded thickness is a proven method to compare data sets, as we can be confident that this has not seen significant variation between inspections. This gives a simple way of visualizing and comparing data.
Outcome
Other factors such as data truncation, incorrect gating, and partial capturing of indications, all contributed to the reported reductions in minima. After an in-depth review of data and report images provided by the client, Sonomatic were able to determine that the majority of the reported wall loss was not representative, with all differences between results within accepted measurement variations.
Following the analysis completed by Sonomatic, it was determined to a high degree of certainty that there was a maximum wall loss of 0.6 mm in comparison to the 2.3 mm reported by the incumbent inspection team. Coupled with a fitness-for-service study, gave added confidence to the client that the equipment could continue to be operated safely.

